
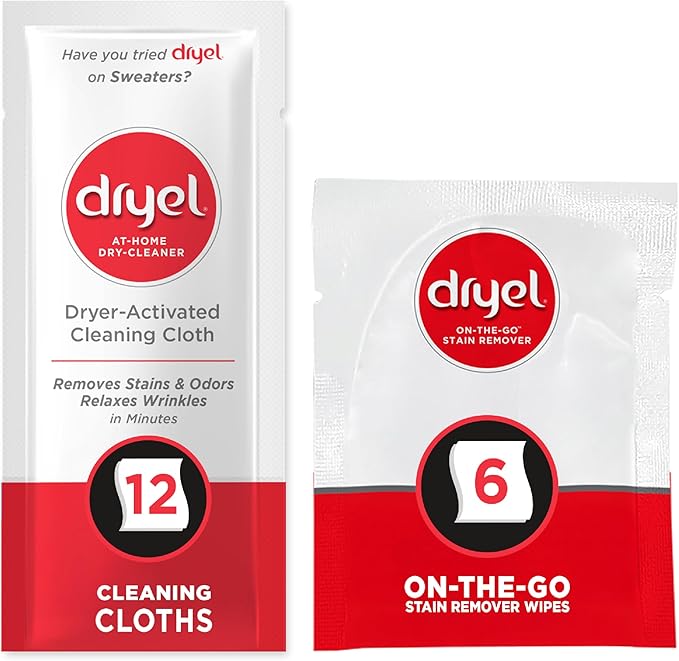
If you just picked up a Dryel kit and you’re staring at the box wondering where to start, you’re in the right place. The truth is, using Dryel is genuinely simple — but a few tips can make the difference between “okay results” and clothes that come out smelling and looking like they just left a professional cleaner.
This guide walks you through the entire process, from opening the box to hanging fresh garments back in your closet.
What’s Inside Your Dryel Kit
Before you start, lay everything out. Depending on which kit you purchased, you’ll typically find three things: dryer-activated cleaning cloths (these do the heavy lifting), a stain pen for pre-treating spots, and an odor & wrinkle releaser spray for finishing touches. Some kits also include a reusable fabric protection bag — more on that in a moment.
Step 1: Check Your Garment Labels
Dryel dry cleaning kit works on a wide range of fabrics — wool, silk, cashmere, linen, rayon, cotton, and denim among them. Before tossing anything in, glance at the care label. If a garment says “dry clean only” or “dry clean recommended,” Dryel is built for it. The only items you should avoid are leather, suede, fur, and anything with heavy embellishments that might not handle tumbling well.
Step 2: Pre-Treat Any Stains
Grab the Dryel Stain Pen and dab it directly onto any visible spots — coffee rings, food splashes, deodorant marks, whatever you’re dealing with. The pen uses a gentle, peroxide-free formula, so it won’t bleach or discolor delicate fabrics the way some household stain removers can. Press the tip lightly into the stain and let the solution absorb for a minute or two before moving to the next step.
A quick tip from experience: treat stains as soon as you notice them. A fresh spot lifts far more easily than one that’s had a week to set into the fibers.
Step 3: Load the Dryer
Unfold one dryer-activated cleaning cloth. If your kit came with the Dryel fabric protection bag, place one to five garments of similar color and weight inside the bag along with the cloth, then zip it closed. If you’re using one of the newer no-bag kits, skip the bag entirely — just place the cloth directly in the dryer drum alongside your garments.
Group similar items together. A load of dark blouses cleans better than mixing a heavy wool coat with a silk camisole. Aim for garments that are close in fabric weight and color family.
Step 4: Set Your Dryer and Start
Set your dryer to medium heat. This is important — high heat can damage delicates, and low heat may not activate the cleaning cloth properly. Tumble for 15 minutes if you’re doing a quick refresh, or up to 30 minutes for garments that need a deeper clean. The heat triggers the cloth to release a gentle cleaning vapor that penetrates fibers, lifting odors and refreshing the fabric.
Step 5: Remove Promptly and Finish
As soon as the cycle ends, take your clothes out. Leaving them sitting in a warm dryer is the fastest way to bake wrinkles back in. Hang each garment immediately — gravity and the residual warmth will help creases fall out naturally.
For any stubborn wrinkles or lingering odors, give the garment a light misting with the Dryel Odor & Wrinkle Releaser. Smooth the fabric with your hand and let it air for a few minutes. You’re done.
Common Mistakes to Avoid
Overloading the dryer is the most common mistake. More than five garments per cloth means the steam can’t circulate properly, and nothing gets cleaned evenly. Second, don’t skip the pre-treat step on visible stains — the cleaning cloth handles general odors and freshening beautifully, but stubborn spots need the stain pen’s direct attention first.
Frequently Asked Questions
How long does it take to use Dryel? The full process — pre-treating, loading, tumbling, and hanging — takes roughly 20 to 30 minutes depending on your dryer and the cleaning depth you choose.
Can I reuse a Dryel cleaning cloth? No. Each dryer-activated cleaning cloth is designed for a single use. After one cycle, its cleaning agents are spent.
Do I need the Dryel bag? Only if you’re using a refill kit designed for the bag system. The newest starter kits are bag-free